Portfolio
Headshots Boudoir Personal Brand
More
Guides Investment Guided Posing About Book a Session
Home  /  Guides  /  How to Pose for Personal Brand Photos
Posing

Twenty frames that do not look like one.

The failure of most brand libraries is not that the pictures are bad. It is that they are all the same picture. Same distance, same energy, same face, in three different shirts. Posing for a library is a different discipline from posing for a portrait, because the thing you are building is variety, and variety has to be engineered on purpose.

By Annie Watson · Naples, Florida · Updated September 2026
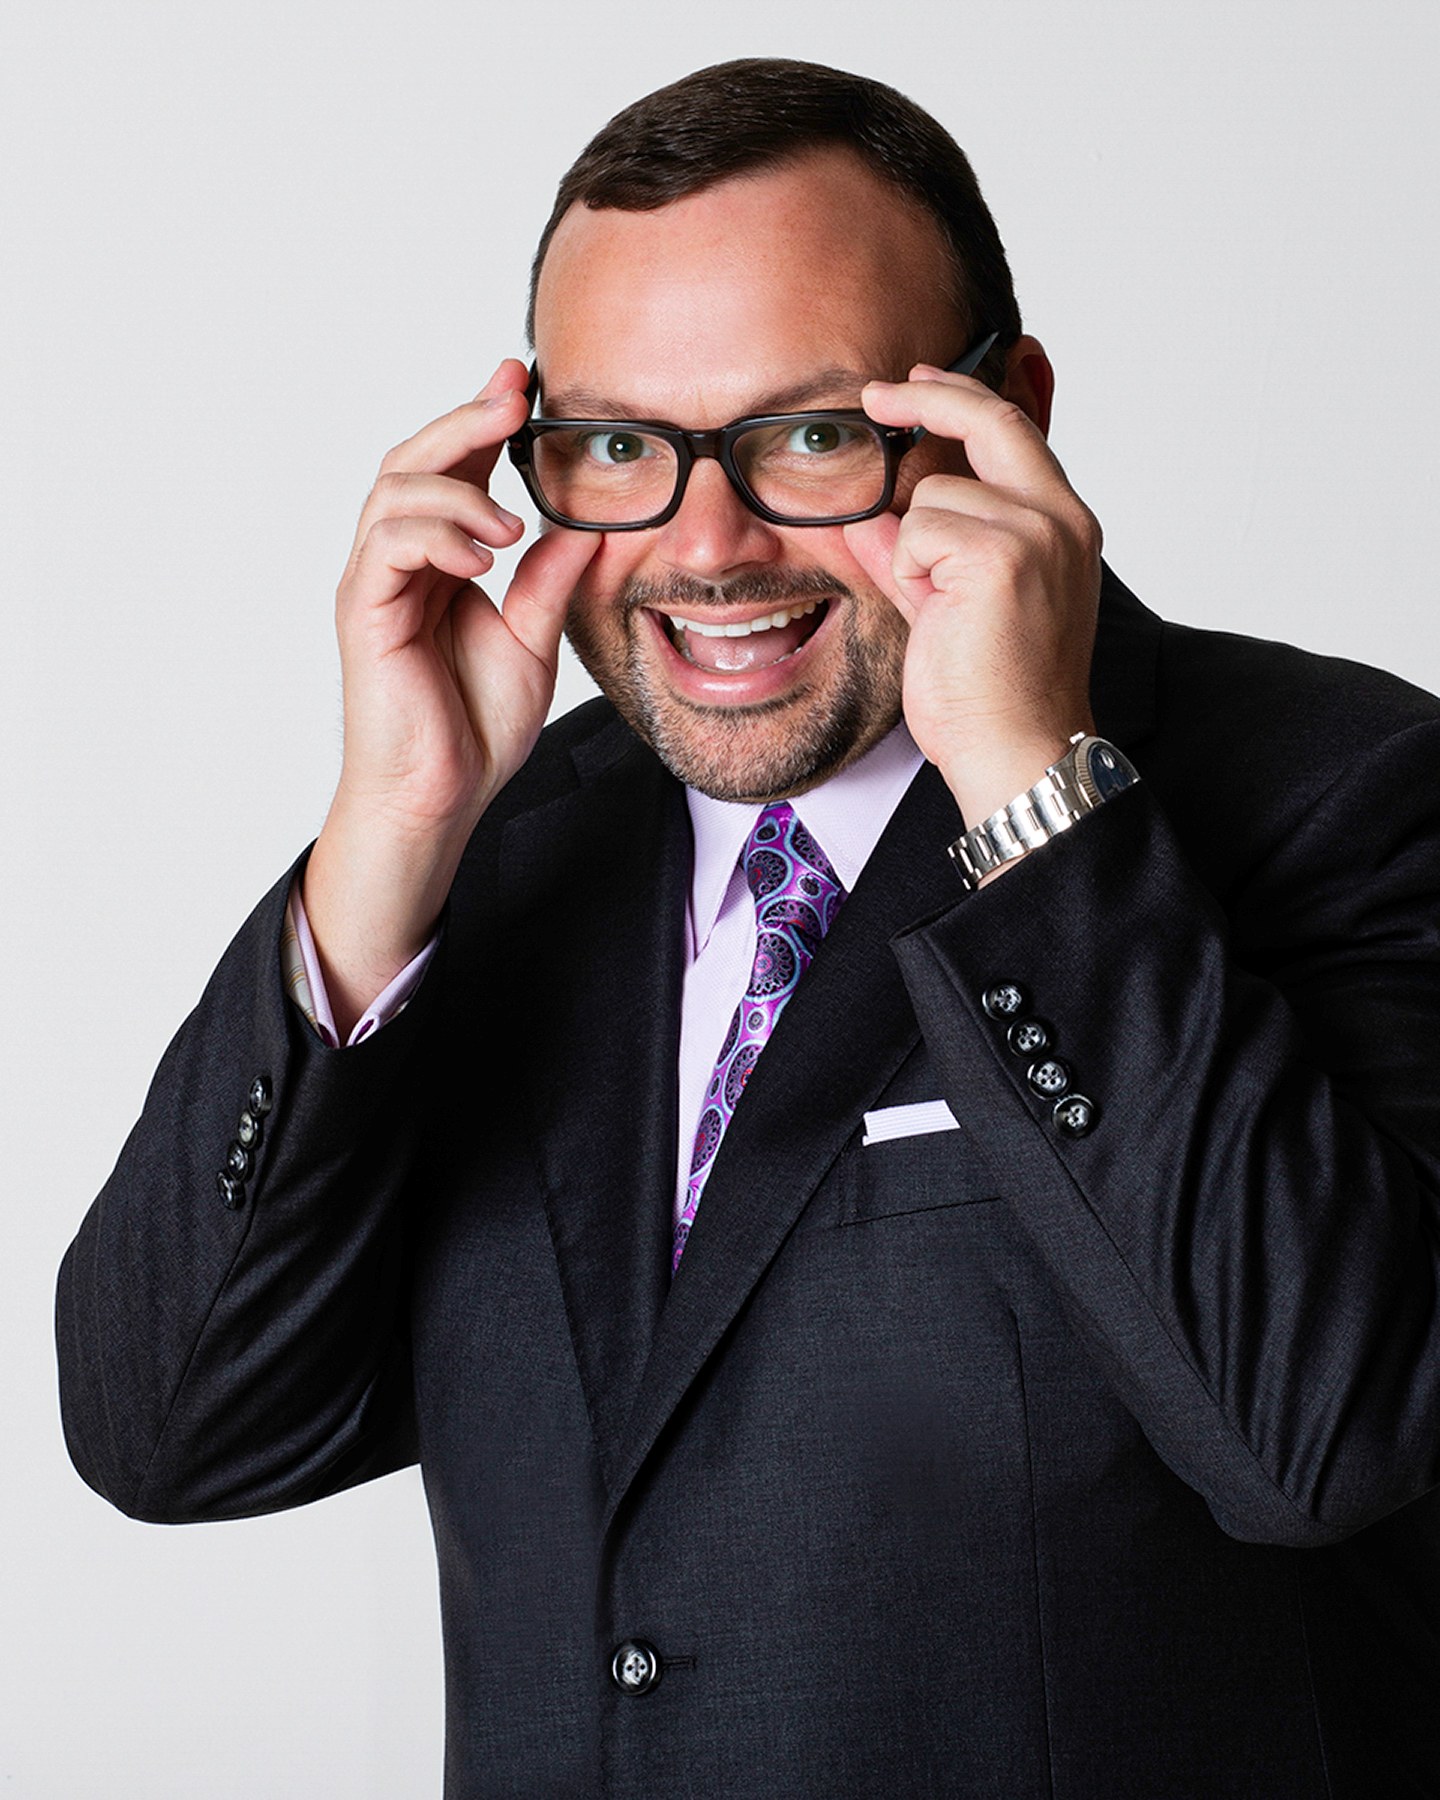
Man in a black suit and purple tie adjusting his glasses with a grin, white backdrop, photographed by Annie Watson in her Naples studio
The Short Answer

To pose for personal brand photos, plan for range rather than for one good frame. Change four things deliberately across the sitting: how far the camera is from you, how high it sits, where you are looking, and how much energy the pose carries. Keep the mechanics constant, body angled, weight settled, hands occupied, spine long, and vary those four dials instead.

Then build in families rather than one at a time: an anchor portrait, working frames where your hands are doing something real, conversational frames turned slightly off the lens, and open frames with movement or a laugh in them. A library that covers those four covers almost every page and post you will ever need to fill.

Why a library collapses.

Here is what a same-looking set actually is. You arrive with three outfits, you stand the same distance from the camera in all three, you face the lens in all three, and you produce the same pleasant expression in all three. The clothes change. Nothing else does. Two months later you have posted the good one twice and the rest are unusable because they read as duplicates.

Wardrobe changes feel like variety while you are doing them, which is the trap. To a viewer scrolling a page, an outfit is a small detail and the shape of the picture is a large one. Two frames with the same crop, the same posture and the same face are the same frame, whatever you were wearing when they were made.

The planning side of this, the channels, the shot list and how many looks a set really needs, is the subject of my guide to personal brand photography. What follows here is the posing half: what your body has to do differently from frame to frame so that a plan on paper turns into a set of images that do not repeat. The underlying mechanics, the ones that hold for every frame, are in how to pose for photos.

The four dials that make range.

Think of variety as four separate controls rather than one vague ambition. Move any of them and you get a genuinely different picture. Move two and it is a different kind of picture altogether.

  • Distance. A tight portrait, a three-quarter frame and a wide one with room around you are three different assets, and only the wide one can carry a headline.
  • Camera height. Slightly above eye level is the safe default; level with your eyes reads more direct and more serious. That small change alters the whole mood without you doing anything.
  • Gaze. Straight down the lens is a greeting. Looking off to one side is a thought. Looking down at your own hands is work being done.
  • Energy. A still, settled pose and a mid-laugh pose are the two ends of it, and the useful frames are usually the ones in between: mid-sentence, mid-turn, mid-gesture.

Notice that only the fourth dial has anything to do with feeling. The other three are geometry, which is why a library can be varied even on a day when you do not feel especially varied. Set the mechanics once, then start turning dials.

The one thing that should not change is posture. Keep the body angled off the lens, the weight settled, the shoulders down and the spine long in every single frame, because a set is only as good as its weakest posture and slouching does not photograph as relaxed. The mechanics of holding that line without going rigid are in posture in portraits.

Working frames, and what hands are for.

The frames that make a brand library worth having are the ones where you are doing something. They are also the ones people find hardest, because holding an object for a camera turns most of us into a person demonstrating a product.

The rule is to hold it the way you hold it. Not presented, not raised toward the lens, not gripped. If it is a notebook, it sits where a notebook sits when you are actually reading it. If it is a laptop, your eyes go to the screen rather than to the camera over the top of it, because a face looking at a lens while the hands pretend to work is the single most obvious fake in this genre.

  • Keep the object below your collarbone, or it becomes the subject of the photograph and you become the background.
  • Angle the hand so the camera sees its side. A knuckle or a palm aimed straight down the lens enlarges in the frame.
  • Let the fingers curve. A flat, pressed hand on an object reads as tension every time.
  • Give the far hand a job too, or it will hang. Resting it on the opposite forearm or a hip keeps the whole upper body in shape.
  • Break contact occasionally: hands off the object entirely, looking at where it was. That frame is often the one that gets used.

Hands on hips is the classic fallback here, and it earns its place in some frames and quietly wrecks others, which is a whole argument of its own in hands on hips and when it works. What is worth knowing while planning is that a working frame needs its object decided in advance, because the object changes what your body can do.

Looking away without looking lost.

Off-camera frames are where a library gets its quiet images, the ones that sit beside a long caption or a paragraph of writing without competing with it. They are also easy to get wrong, and the wrong version has a specific look: a person staring into the middle distance with nothing behind the eyes.

The fix is to look at something real. Pick an actual point, a mark on a wall, a spot on the floor, the hands you have just stopped using, and give the look a reason. Then turn your whole head toward it rather than sliding your eyes across, because pupils dragged into the corner of the eye read as evasive no matter how relaxed the rest of you is.

The most useful version of this is the conversational frame: turned slightly off the lens and talking to somebody standing just out of shot. It reads as a consultation, an explanation, a moment of listening, all without a second person in the picture. It photographs best when you genuinely are talking, so the mouth and the eyes agree with each other.

One placement note. If a picture will run beside words, look and lean toward them. A subject gazing out of the frame away from the writing pulls a reader off the page, which quietly undermines an otherwise good image.
How one look becomes five pictures.

This is the part that turns a plan into a library. Inside a single outfit, before anything is changed, there is a sequence that reliably produces distinct frames rather than variations on one.

The order that works

Start standing and tight, which gets the anchor portrait done while you are still fresh. Step back for a three-quarter frame and give the hands something to do. Move to a wide frame with quiet space beside you. Then sit, which changes the line of the whole body and the energy with it. Finish the look with something loose: a turn, a step, a laugh at the end of a sentence. Five frames, one outfit, no two alike.

Sitting is doing real work in that sequence and it is not just a rest. A seated pose shortens the visible body, brings the hands naturally into frame and reads as considered rather than presented. It only works with the weight kept forward and the elbows off the ribs.

That sequencing is exactly how a content day is built, because a day that has to cover a lot of ground does it by running this order through several looks rather than by shooting more of any one of them. Movement deserves its own mention here: a step, a turn or a walk toward the camera loosens a body faster than any instruction to relax, and how to use it is covered in movement in posing.

Posing for space you leave empty.

Some of the most valuable frames in a library are mostly empty, and posing for them feels counterintuitive because your instinct is to fill the picture.

A banner, a page header or a slide needs a wide frame with a large quiet area for words. To make one, stand to one side of the frame rather than the middle, angle your body into the empty half so you are facing the space rather than turning your back on it, and keep the pose simple. Complicated shapes and raised hands eat the space you are trying to protect.

Vertical frames want the opposite discipline: closer, tighter, more of you, because a vertical crop shown on a phone throws away everything at the sides anyway. Frames destined for posting have their own set of rules about crop and looseness, and those are in poses for social media photos.

Ask for both shapes while you are still in the look. Space beside you is trivial to shoot and impossible to invent later, and it is the single most common gap in a library that was otherwise planned well.

What direction is doing the whole time.

Read in one place, this sounds like a great deal to manage while also looking like a person somebody would want to hire. It would be, if you were managing it.

In a sitting, none of these decisions are yours. I know which dial we have not turned yet, which shapes are missing from the set, and when the last four frames have quietly become the same frame. You get one instruction at a time, and the range gets built behind you without you having to keep a running inventory of what has already been shot.

That is what makes a varied library possible in a single sitting. A personal brand session moves you between the anchor portrait and the loose, moving frames in the same look, in the same light, so the set holds together while still covering genuinely different ground. The plan decides what is needed. The direction is what actually gets it made.

Key Takeaways
  • A library repeats itself when only the clothes change, because the shape of a picture matters far more than the outfit in it.
  • Engineer range with four dials: distance from the camera, camera height, where you are looking, and how much energy the pose carries.
  • Hold objects the way you actually hold them, keep them below the collarbone, and never look at the lens while your hands pretend to work.
  • Off-camera looks need a real point to land on and a whole head turned toward it, not eyes sliding sideways.
  • One outfit should yield about five distinct frames: tight, three-quarter, wide, seated, and something loose.
  • Wide frames with quiet space beside you are the hardest thing to add later and the easiest thing to shoot on the day.
Next Step

Let us build the range look by look.

The dials get turned by whoever is watching the frame, and that is not you. In a sitting I keep track of which shapes the set still needs, which look has given up everything it has, and when four frames in a row have quietly become the same frame. Planning and pricing are personal, so call (239) 319-6171 or send the form.

Book a Session Call (239) 319-6171
Put It to Work

Sessions this guide points to.

Good to Know

Questions, answered.

How do I stop every frame looking like a headshot with more background?
Change something structural rather than something cosmetic. Move the camera closer or further away, change its height, change where you are looking, or change what your hands are doing. Any one of those produces a different picture. Turning your body a few degrees or swapping a jacket does not, which is why sets that only vary the wardrobe end up feeling like one image printed several times.
My hands go stiff the moment I am holding something. What helps?
Let the object do the work. A real thing has weight and a way it is normally held, so hold it that way instead of presenting it: fingers curved around it, wrists soft, the whole thing below your collarbone. Then look where you would actually look, at the object rather than over it at the lens. Stiffness usually arrives the moment a hand starts posing instead of holding.
I am not a laugher. Do I have to do the laughing frames?
No, and a manufactured laugh is worse than no laugh at all. What a library needs at that end of the range is openness rather than hilarity: a half smile caught mid-sentence, a look up from something, a face in the middle of an idea. Those read as warm and alive without asking you to perform an emotion you are not having.
Should I look at the camera or away in most of my images?
You will want more eye contact than you expect, because direct frames are the ones that work on profiles, about pages and anywhere somebody is deciding whether to contact you. Off-camera frames are the supporting cast: good beside long text, good as a second image, weak as your main one. A rough working split is two thirds looking at the lens and one third away.
Can a studio frame really look like I am working?
It can, and the pose is what decides it. A working frame reads as true when your eyes go where they would genuinely go, at the thing in your hands rather than at the camera above it, and when the object is held the way you hold it every day. What gives one away is almost never the background. It is a face performing an attention it is not actually paying.
Book Your Session

Your best headshot is one session away.

Tell me a little about what you have in mind and I will be in touch personally. Pricing is personal, so the best way to plan is a quick call.

Studio
5400 Yahl St, Naples FL

Prefer to talk? Call (239) 319-6171. I respond personally.