Portfolio
Headshots Boudoir Personal Brand
More
Guides Investment Guided Posing About Book a Session
Home  /  Guides  /  What to Do With Your Hands in Photos
Posing

What to do with your hands.

If there is one thing you already know you will get wrong in front of a camera, it is this, and it deserves a real answer rather than a shrug. Hands have no default position. Left alone they clench, hide or hang. Here is a position for every common situation, standing and seated, with the rules that make each of them work.

By Annie Watson · Naples, Florida · Updated September 2026
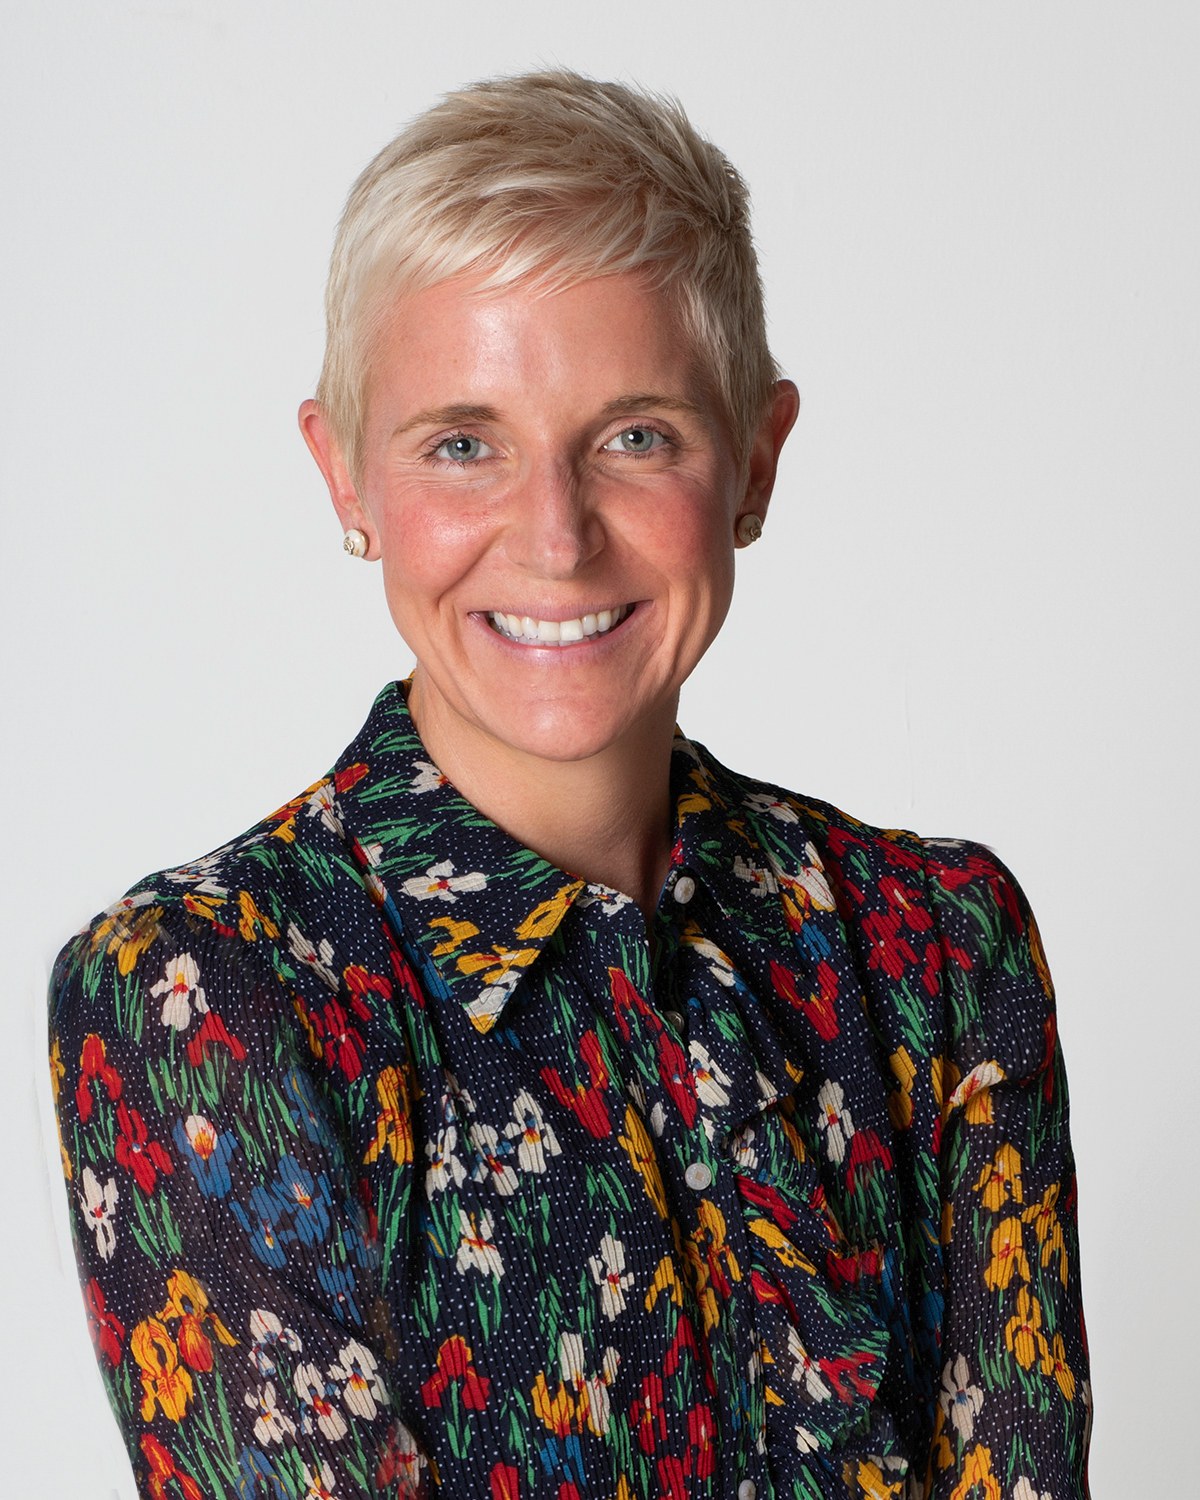
Woman with short blonde hair in a floral shirt, laughing, gray backdrop, photographed by Annie Watson in her Naples studio
The Short Answer

Give each hand a job. A hand that is holding something, resting on something or touching something else looks purposeful; a hand that is simply hanging at the end of an arm looks abandoned. The reliable options are a thumb hooked in a pocket, a hand on the edge of a jacket, one hand loosely holding the opposite wrist or forearm, a hand resting on a hip, or a hand holding an object you would actually hold.

Then apply three rules to whichever you choose: keep the fingers soft and slightly separated, turn the narrow edge of the hand toward the camera rather than the flat back, and keep a gap of daylight between your upper arm and your ribs.

Why hands are the hard part.

Every other part of you has somewhere to be. Feet stand, hips carry the weight, the head sits on the neck. Hands are the only part with no resting job, which is why they become the thing you notice about yourself the second a camera appears.

They also matter more than their size suggests, because hands are dense with edges and the eye goes to them fast. A clenched fist or a set of flat, pressed together fingers is visible long before anyone reads your expression.

So the rule is not a pose. It is a task. Ask what this hand is doing, answer it with something specific, and the hand stops being a problem. Everything below is a catalogue of answers, and the mechanics behind them sit alongside the rest of the body in how to pose for photos.

Standing, with nothing to hold.

The hardest case first, because it is the most common: you are standing, there is nothing to hold, and both arms are just there.

Thumb in the pocket

Slide one hand into a front pocket and leave the thumb hooked outside. The thumb is what stops this reading as a shove: a hand buried to the wrist looks like you are hiding something. Use one hand rather than two, because two pocketed hands flatten both arms against your sides.

The jacket edge

If you are wearing anything with a front opening, hold the edge of it: one hand at the lapel, thumb inside and fingers outside, or lower on the front edge. It is quietly the best hand position in professional portraiture. The hand has a genuine task, a soft triangle opens between arm and torso, and it looks like something you might do while listening.

Hand to opposite forearm

Bring one hand across and let it rest lightly on the opposite forearm or wrist. Light is the word that matters: gripping turns it into restraint and the knuckles show it. Keep the crossing arm low, around the waist, so it does not become a folded arms shape by accident.

That folded version is a whole pose with its own risks and its own right way of doing it, and it gets a proper treatment in crossed arms in headshots. The same is true of a hand landing on the waist, which works far better in some contexts than others and is worked out in hands on hips and when it works.
The three rules that apply to every position.

Position gets you halfway. These three details are what separate a hand that looks relaxed from the same hand looking tense in exactly the same place.

  • Soft fingers, slightly apart. Pressed flat together they read as a paddle and as tension. A small gap and a gentle curve read as a hand at rest.
  • Show the edge, not the back. A flat back facing the lens is the largest and least interesting version of a hand. Rotate so the camera sees the narrow side and the line of the thumb. The same hand shrinks and gains shape without moving an inch.
  • Keep daylight at the elbow. An upper arm pressed against your ribs spreads, and so does the torso. A visible gap of background between elbow and side keeps both narrow, which is one of the honest ways posing flatters in camera.
  • Never lock the wrist. A hard right angle where the hand meets the arm stops the line dead. Let it break softly.
  • Check the knuckles. If they are white, whatever you are holding is being gripped rather than held, and that shows even when the hand is small in the frame.

Run these checks on any hand position and it will work. Skip them and even a well chosen position looks anxious.

Seated hands, and the surface problem.

Sitting changes the question, because now there are surfaces, and surfaces are where hands go wrong.

The best seated position is one hand resting loosely on the other in your lap, slightly off center, both angled so the camera sees edges. It is unfussy and works in almost every crop. Next best is one forearm on a knee with the other hand somewhere else, which gives an asymmetric shape and stops the arms mirroring each other.

Where there is a surface in front of you, let your forearms lie along it rather than pushing weight down through the elbows. Planted elbows push the shoulders up toward the ears, and a raised shoulder makes every hand position below it look tense. Rest, do not lean.

Two seated habits to break: fingers laced tightly together in the lap, which photographs as bracing, and both hands gripping the arms of a chair, which turns the frame into a person about to be given bad news. The fix for both is to unlace, separate, and give one hand a different job from the other.

Hands near the face, and when not to.

A hand brought up toward the jaw is a strong move and a risky one. Done well it frames the face and makes a portrait feel considered. Done badly it becomes the thinker statue, or a hand propping up a chin so the cheek is pushed out of shape.

The rules are narrow. The hand touches, it never supports, so no weight goes through it. Keep it below the cheekbone and off the jawline, at the side of the neck or just under the ear. Fingers together but curved, never splayed across the face, and never a finger under the chin pointing at the lens. Keep the elbow from swinging wide, because the arm becomes the biggest shape in a tight crop before you notice.

It suits a personal brand library, where you want a few frames with more attitude than a standard business portrait, better than it suits a straightforward corporate headshot. If the picture has to read as competent and approachable at a small size, keep the hands out of the face entirely and put them at the jacket edge instead.

One more caution: a hand near the jaw sits right in the area where the chin and neck line is doing its own work, and the two can fight each other. What the chin should be doing there is covered in the guide to softening a double chin with posing.

What you bring, and why a real object wins.

Holding something solves the hand question instantly, which is why it is worth choosing what you bring before the day.

  • Glasses, held by one arm at the temple rather than clutched at the lens. If you wear them, wearing them is usually better than holding them.
  • A pen you use, held as if you had just been writing, not gripped like a dart.
  • A tool, an instrument or a piece of equipment from your actual trade, which does more for a portrait than any generic pose because it explains who you are without a caption.

The failure is the borrowed prop. An object you would never touch makes the hand holding it look uncertain, because you do not know how to hold it. A prop should be something you already handle without thinking.

Scale matters too. In a tight frame a large object crowds the face; in a full length frame a small one disappears. If your build is on the smaller side the balance shifts again, and that calculation is worked out in posing for petite frames.

The hand mistakes worth knowing by name.

These turn up constantly in undirected photographs, and each has a one line fix.

  • The dangle. Both arms hanging straight down, hands limp. Fix: give at least one hand a destination.
  • The fig leaf. Both hands clasped low in front of the body. Fix: separate them and move one to a pocket or a jacket edge.
  • The guard. Hands clasped behind the back, pulling the chest into a stiff plate. Fix: bring one hand forward.
  • The paddle. Flat back of the hand facing the camera, fingers together. Fix: rotate to the edge and soften the fingers.
  • The clamp. Arms glued to the sides so the elbows disappear. Fix: daylight at the elbow.
  • The claw. Fingers splayed hard against a hip or a leg. Fix: relax until the fingers curve, then let them rest rather than press.
  • The forgotten hand. One hand beautifully placed and the other left doing nothing at all. Fix: both hands always get an answer, even when only one is visible.

None of these are personal failings. They are what a hand does with no instruction, which is exactly why direction from behind the camera exists. In my private Naples studio your hands are placed for you, adjusted between frames and checked in the crop before we move on. That is the practical meaning of never wondering what to do with your hands, and it applies as much to professional headshots as to anything else.

Key Takeaways
  • A hand needs a task, not a pose; holding, resting or touching all work, and hanging does not.
  • Keep the fingers soft and slightly separated, because flat pressed fingers photograph as tension every time.
  • Turn the narrow edge of the hand toward the lens rather than the flat back of it, and never lock the wrist at a right angle.
  • Leave visible daylight between your upper arm and your ribs, standing or seated, in every hand position you choose.
  • Seated, rest forearms on a surface rather than planting elbows, and give the two hands different jobs so they do not mirror each other.
  • A prop only helps if it is something you would genuinely hold; a borrowed object makes the hand look uncertain.
  • The named failures (the dangle, the fig leaf, the guard, the clamp) each have a one line fix.
Next Step

You will not have to decide a thing.

Thumb in the pocket, hand on the jacket edge, daylight at the elbow: all of that is learnable, and none of it is your job once the camera is up. You will not be asked to decide where a hand goes, or to notice when one has quietly gone flat. Pricing and planning are personal, so call (239) 319-6171 or send the form.

Book a Session Call (239) 319-6171
Put It to Work

Sessions this guide points to.

Good to Know

Questions, answered.

What do I do if I genuinely hate my hands?
Then we keep them out of the picture, and that is a completely normal request. A tighter crop removes them entirely. A three quarter length frame can put one hand behind a jacket edge and the other out of frame. If they are visible, the edge on turn and soft fingers do a great deal, and so does keeping them below the face rather than beside it. Say so at the start and it simply becomes part of the plan.
Should I take my wedding ring or watch off?
Keep whatever you actually wear. Jewelry you own reads as you; an empty finger that normally has a ring on it looks odd to anyone who knows you. The only adjustments worth making are practical: turn a stone so it sits straight, and take off anything that catches so much light it becomes the brightest thing in the frame. If a piece has meaning to you, we can make sure it is visible rather than hidden.
My nails are not done. Does that matter?
Only if the hands are close to the face or holding something near it, where they get real size in the frame. Clean and trimmed covers almost every professional portrait. If you know your hands will feature, tidy them a day ahead rather than at the last moment so nothing is sore or shiny. Retouching is done by hand, and it is not a substitute for a quick tidy up.
One of my hands looks bigger than the other in photos. Why?
Because it is closer to the lens. Anything nearer the camera is rendered larger, and the effect is strongest at short distances, which is why a hand reaching toward a phone looks enormous. The fix is to keep both hands roughly in the same plane as your body rather than letting one drift forward, and to turn the nearer one edge on. It is a lens behavior, not a fact about your hands.
Do the same hand rules apply to a seated three quarter portrait as to a tight headshot?
The principles do, but the priorities change. In a tight crop the only hand that matters is one near the face, and the safest choice is usually no hand at all. In a three quarter or full length frame the hands carry a lot of the shape of the picture, so they need real positions and real gaps at the elbows. Plan for both in one sitting, since the same pose rarely serves the two crops equally well.
Can I just put both hands in my pockets and be done with it?
For one frame it can look easy and unfussed. Across a set it becomes a problem: both arms end up flat against the body, the elbows vanish and every picture has the same outline. One hand pocketed with the thumb out, and the other doing something else, is nearly always the stronger version.
Book Your Session

Your best headshot is one session away.

Tell me a little about what you have in mind and I will be in touch personally. Pricing is personal, so the best way to plan is a quick call.

Studio
5400 Yahl St, Naples FL

Prefer to talk? Call (239) 319-6171. I respond personally.