Angle is not luck and it is not a mysterious quality some people have. It is geometry, and there are only three variables in it: how high the camera is, how far your body is turned, and how far your face comes back toward the lens. Learn what each one does on its own and you can build the rest yourself.

The most flattering angle for almost everyone is a lens slightly above eye level, with the body turned about forty five degrees away from the camera, the weight on the back foot, and the face brought back toward the lens so it is nearly straight on while the body is not.
That combination works because it separates the three variables. Camera height controls how the face is shaped and where the jaw line sits. Body rotation controls how wide you read. Face rotation controls how much structure the face has. Change one at a time and you can see what each is doing, which is more useful than copying a pose from someone whose proportions are not yours.
If you only ever fix one thing, fix this. Camera height does more to a face than any pose you can adopt, and it is the variable you have least control over when someone else holds the phone.
A lens at or slightly above eye level flatters nearly everyone. It puts the top plane of your face toward the camera, opens the eyes and hides the underside of the jaw. Go far above and it tips into something else: large heads and small bodies, which is a look, but rarely the one a business profile wants.
A lens below eye level flatters almost nobody. It aims up into the nostrils, shortens the forehead and widens the jaw and neck. It is why a phone resting in your lap has never once produced a picture you liked, and why that has nothing to do with your face.
The rule shifts with the crop. Tight head and shoulders: slightly above eye level. Three quarter length: around chest height. Full length: roughly waist to chest, because a lens up at eye level shortens your legs across the whole bottom of the picture. Setting a phone on a shelf rather than holding it is most of this problem solved.
The second variable is rotation of the body, and it works on a spectrum rather than one magic setting.
Whichever you choose, put your weight on the back foot. Rotation without a weight shift leaves you standing evenly inside a turned body, which locks the hips and looks arranged rather than inhabited.
One caution at every setting on that spectrum: the near shoulder is now the closest part of you to the lens, so it renders largest. Drop it slightly and pull it back a fraction, or it becomes the biggest shape in the picture and pushes your head backward.
This is what separates a good angle from a merely turned body: once your shoulders are angled, your head does not have to follow them.
Bring the face back toward the camera until it is nearly, but not entirely, straight on. The gap between where your shoulders point and where your face points is what gives a portrait depth. Shoulders and face aimed identically make a flat picture however far you turned.
How far back depends on which eye you want the camera to favor. Bring the far eye nearer the center of the frame and you get a narrower, more sculpted rendering. Favor the near eye and you get a broader, more open one that suits softer portraits. They are two different pictures, and both are worth shooting.
Two things to avoid while doing it. Do not leave the head where it is and slide only the eyes across, which reads as evasive however good the geometry underneath it is. And do not let the head tip sideways as it rotates unless you mean it, because a sideways tilt is a whole separate variable with its own effects, and it gets a page of its own on the head tilt in photos.
Most advice stops at three variables, and then the same angles that work in a studio fail at home. The missing piece is how far the camera sits from your face.
Anything closer to a lens renders larger. At conversational distance the effect is mild. At arm's length, where a phone selfie lives, it is severe: the nose and forehead are magnified relative to the ears and jaw and the face is stretched forward. That is not a fault in your face; it is what any lens does that close.
The fix is distance, not a better pose. Step the camera back and crop in afterward, and the same face becomes proportional again. A portrait made from several feet away and cropped to the head and shoulders will always look more like you than one made at arm's length.
It interacts with everything else. A closer lens exaggerates a forward chin push, a near shoulder, an outstretched hand. Move the camera closer and every angle you have set needs dialing back; move it away and they can all be pushed further.
Almost everyone believes they have a good side, and almost everyone is right, though not for the usual reason.
Faces are not symmetrical. One eye sits fractionally higher, one side of the mouth lifts more readily, hair falls one way. None of it is a flaw and none of it is visible in conversation. In a still photograph, though, small asymmetries are held motionless for as long as the viewer cares to look, so one side genuinely renders more like the version of yourself you carry around.
Find yours properly rather than guessing. Put a phone at eye height on a shelf and shoot three frames turned one way and three the other, everything else identical. Look at them side by side. One direction will look more like you.
Then hold it loosely. It is a starting point, not a rule to defend. A collar, a haircut, the direction the light comes from and where the picture is going can all outrank it, and a sitting shot entirely from one side gives you a set of images that all look alike. It is a preference about rendering, not a verdict on half your face. The practical mechanics under all of it are in how to pose for photos.
Geometry is neutral. What decides the settings is what the picture has to do.
Go simpler and closer to symmetrical: a twenty to thirty degree turn, the lens just above eye level, the face nearly straight on. Heavy asymmetry loses its point at the size of a postage stamp, and a strong profile is unrecognizable at that scale.
Lens at eye level rather than above it, body turned less, face straight on. Directness reads as authority, and shooting from slightly above tends to soften a subject, which is not always what a portrait needs.
This is where forty five degrees and beyond earns its keep, along with seated and leaning frames where a diagonal body line becomes part of the composition.
Softer geometry: gentler turns, less separation between where the shoulders point and where the face points, and a lens that stays near eye level so the viewer feels level with the subject rather than above them. That is the approach behind the guidance on how to pose for boudoir sessions, where the line and the angle do the work.
In every one of these, the chin is doing its own job inside the angle you have chosen, and it has to be recalibrated each time the geometry changes; that mechanic has its own page on jawline and chin posing.
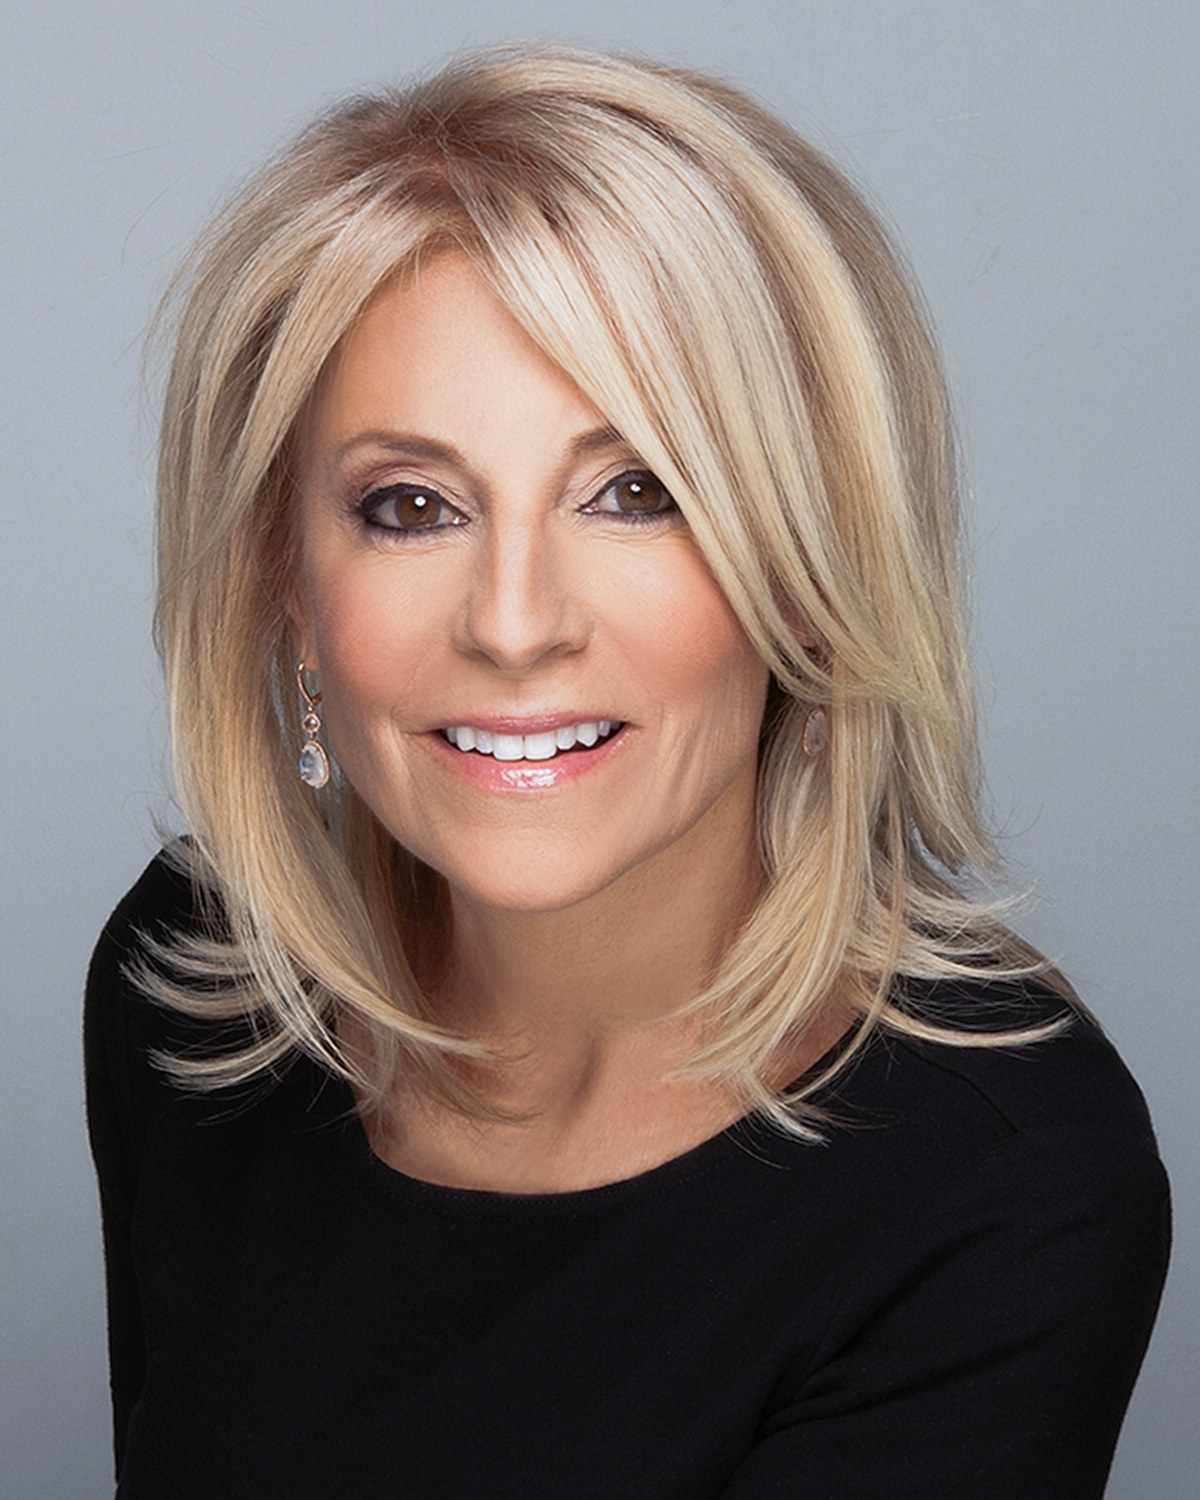
On the page this looks like a set of settings you could write down and apply. In practice it is a moving target, because the variables interact and shift every time anything else does.
Turn further and the chin needs recalibrating. Raise the camera and the turn that worked a moment ago shows too much of the far shoulder. Change jacket and the shoulder line changes with it. Sit down and every height relationship resets at once. None of it is visible from inside the pose.
That is the practical case for guided posing, and it is what I am doing throughout a sitting rather than at the start of it. I set the height for the crop we want, turn you, bring your face back, and then keep adjusting all three by small amounts while the camera runs, because the correct angle for a given frame lasts about as long as that frame does.
Learn the geometry anyway. It is useful for every phone photograph you will ever be in, and it means that when I ask you to turn further and bring your face back, you already know what I am building. For a professional headshot that has to work at several sizes, that head start shows.
Three variables sounds manageable until you realize they all shift every time you change a look, sit down or move a shoulder. In my private Naples studio the height is set for the crop, the turn is adjusted between frames, and you never have to work out which of the three has drifted. Call (239) 319-6171 or send the form, and we will start from the crop you actually need.
Book a Session Call (239) 319-6171Tell me a little about what you have in mind and I will be in touch personally. Pricing is personal, so the best way to plan is a quick call.
Share a few details and Annie will be in touch personally.